If you struggle with presenting your skills and experience, a personal interview assistant can be a valuable tool. This assistant will introduce what you do and highlight your expertise when needed. You can host it on Azure and deploy it using Microsoft’s AI solutions. Here’s how you can set it up.
Prerequisites
Before starting, ensure you have:
- An active Microsoft Azure subscription
- A GitHub account (which will store the assistant’s reference data)
Deploying Your Assistant
Microsoft provides a Chat with Your Data solution accelerator that allows you to create an AI-powered assistant. You can deploy it in two ways: a quick, template-based method or a more advanced method using Visual Studio Code (which will be covered in future articles). Today, we will focus on the easy and fast deployment approach.
1. Quick Deployment Using Azure
The fastest way to deploy your assistant is by using the Deploy to Azure button, which will automatically set up the necessary resources.
Steps:
- Click the Deploy to Azure button on the Chat with Your Data solution accelerator page.
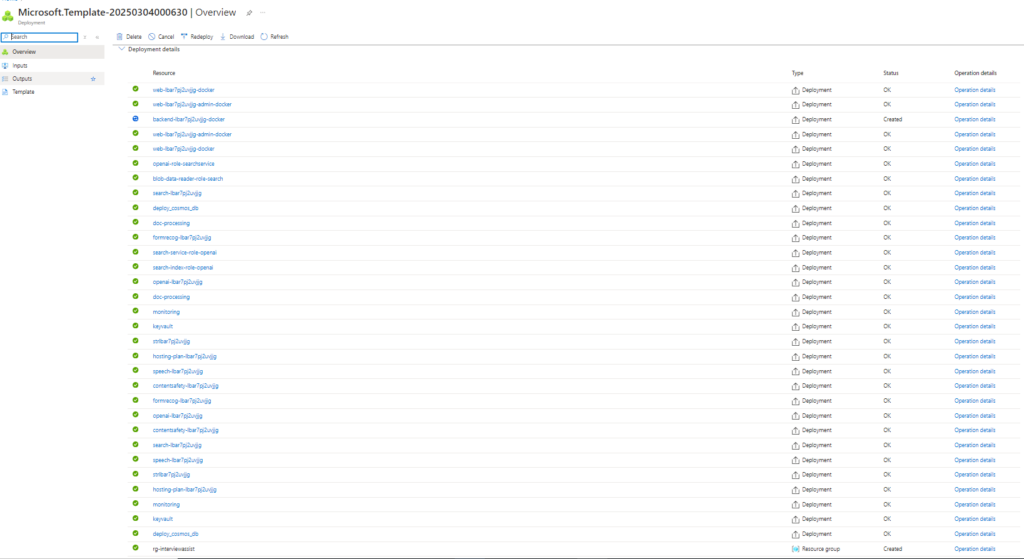
- Follow the guided steps to provision the required Azure resources.
- Configure the application with your preferred settings (e.g., supported languages). Make sure to provide the following mandatory inputs:
- Location in Deployment (e.g., East US 2)
- Name for the deployment (e.g., interviewassistant – max 20 characters)
2. Integrating Your GitHub Repositories
Once your application is deployed, it needs access to your data. The assistant can reference your GitHub repositories to understand your projects and skills.
Steps:
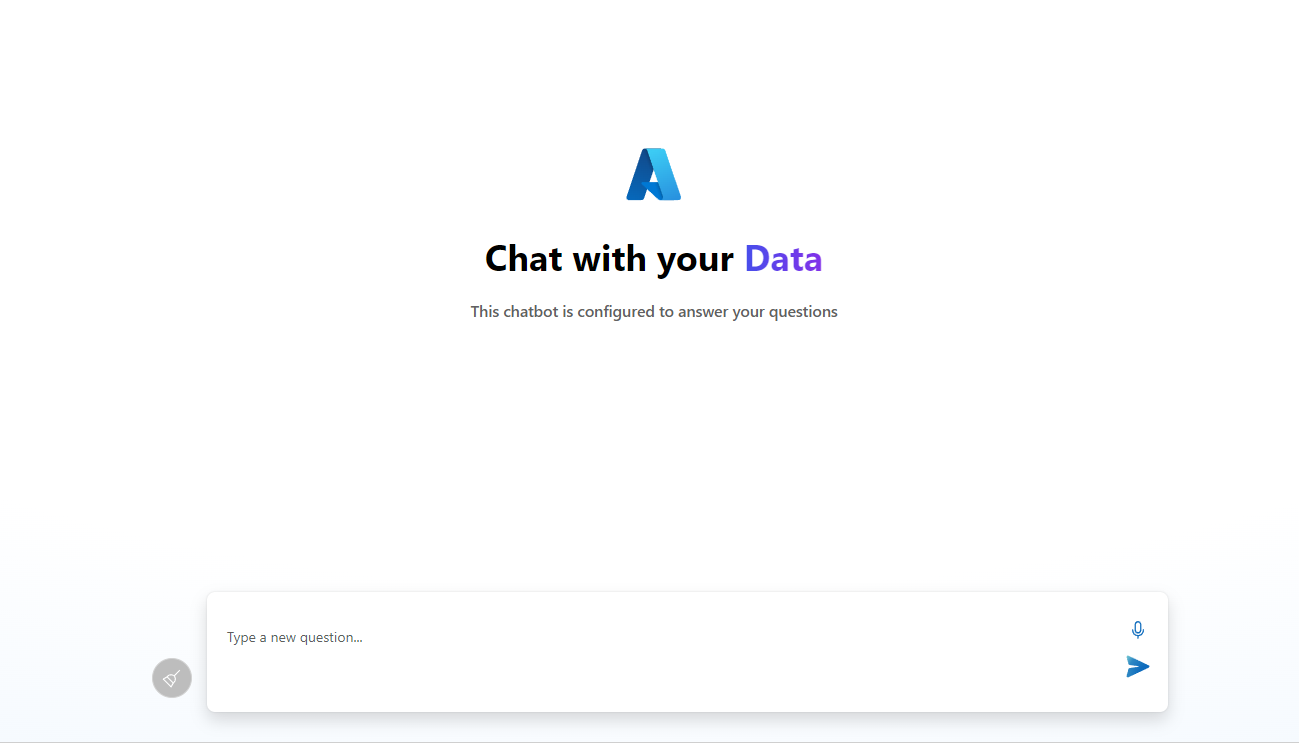
- Open your assistant in a browser.
- You can access the repository’s file tree by making a GET request to the following API endpoint:
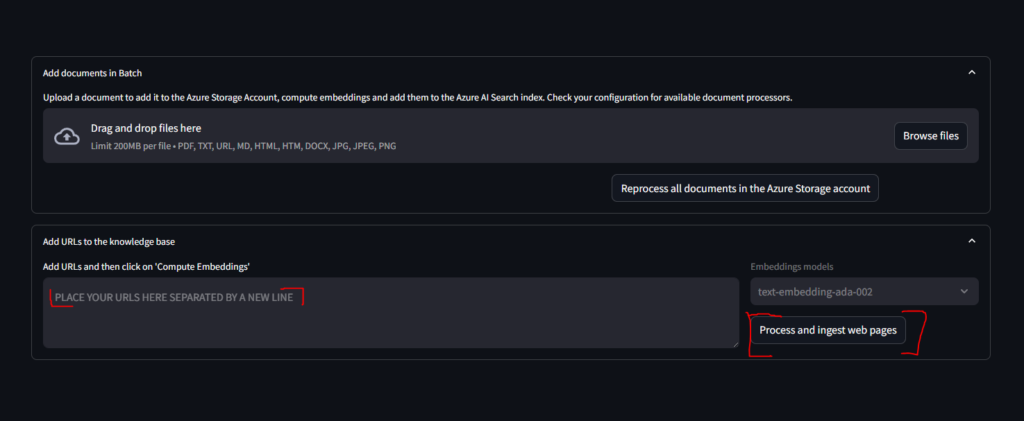
- Upload the list of repository URLs to the admin tool in the Chat with Your Data solution accelerator.
- The system will process and index the content of the repositories.
3. Verifying Data Processing
To ensure everything has been properly uploaded and indexed:
- Go to the Explorer page in your assistant and check that all repositories have been fully processed.
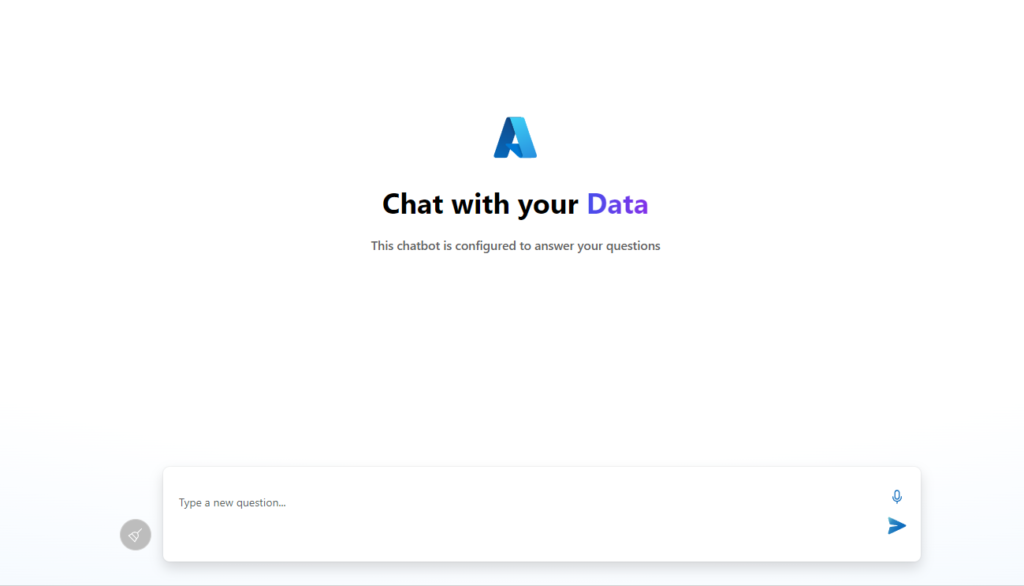
- Navigate to the User Chat section and interact with the assistant.
- Ask questions related to your projects and skills to confirm the assistant retrieves the correct information.
Conclusion
You now have a personal interview assistant that can provide insights into your work and skills whenever needed. As you continue developing it, consider integrating more advanced AI features like Teams extension.
Stay tuned for future articles where we will explore deploying the assistant using Visual Studio Code and additional customization options!
Visit www.MyGPT.pl for More Resources
Check out additional guides and tools to help you grow your career and technical expertise.
Bezpieczeństwo i ulepszenia w usłudze Azure OpenAI
Learn about the security improvements and enhancements in Azure OpenAI, and how they can benefit your AI projects.
Azure OpenAI Nowości
Stay updated on the latest news and features of Azure OpenAI, including new capabilities and updates.
Leave a Reply